
I recently received a card making book which has given me the chance to relax with some creative crafts this summer. The book is ‘Summer Flowers – A Luxury Card Making Book’ by Kay Burton. It’s perfect for anyone who loves making, crafting or even just for those of us who get excited by a book of pretty pictures! There are others in the range too, so plenty to keep us inspired. The books can be purchased online at various outlets. See Kay Burton Creative Artist or Paper Craft Books for more details. In this blog, I’ll go through what I did to give you a taster.
The card making book
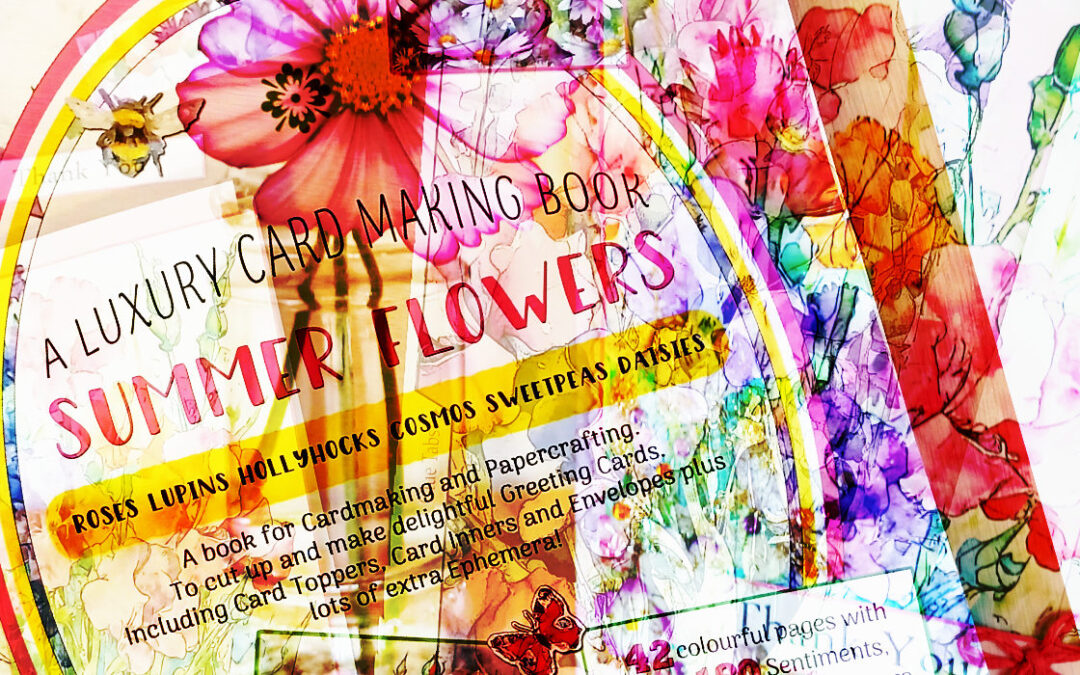
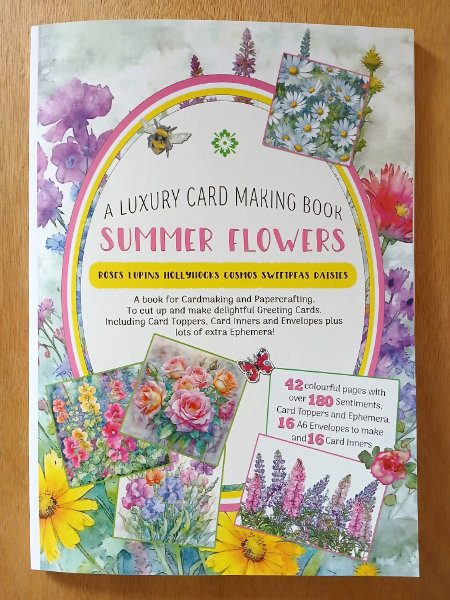
This is the luxury card making book:
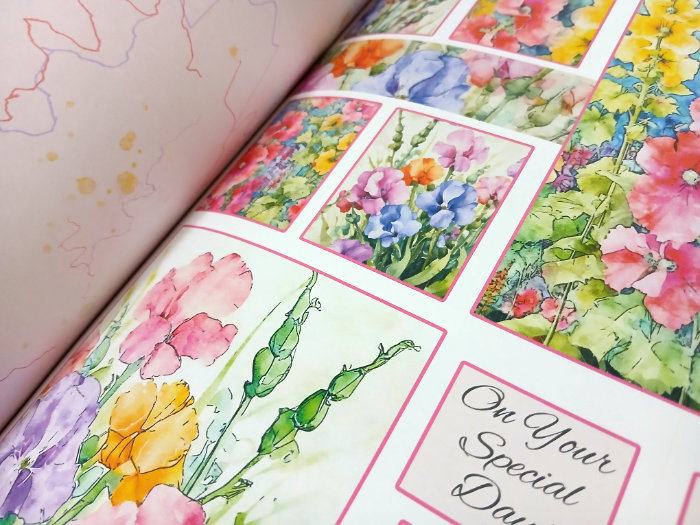
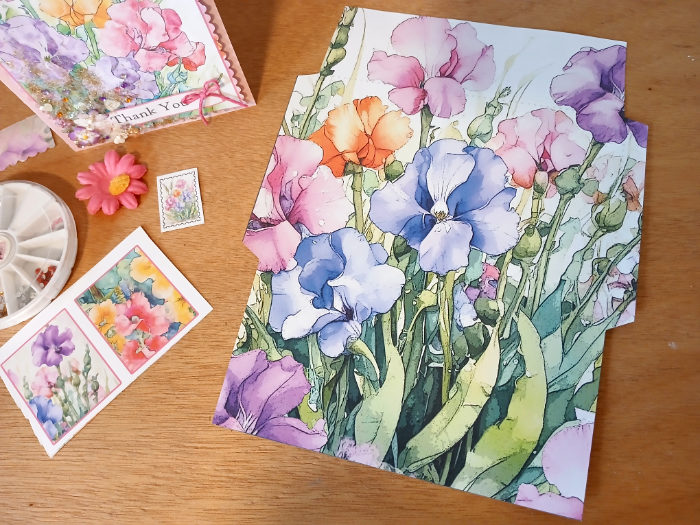
The vibrant, appealing cover is enough to entice us creative types! And a quick flick through doesn’t disappoint. Just look at these colourful, exciting pages designed from beautiful, original artworks by Kay Burton:

The book is described as “A book for cardmaking and papercrafting. To cut up and make delightful greeting cards. Including card toppers, card inners, and envelopes plus lots of extra ephemera!” – so it’s the ideal card making book for a chilled-out afternoon of summer crafting.
There are enough materials to make at least 16 cards, because there are 16 card inners and envelopes to cut out. After looking through the book a few times to familiarise myself with the content, I can see that the book is divided into four cohesive ‘sets’. That means there is a set of materials for four cards within a similar flower theme – and then three more sets of four cards with different flower themes. The perfectionist in me will most likely stick to these themes when constructing the cards. For more rebellious and carefree crafters, I think mixing and matching the materials between different themes would look great too.
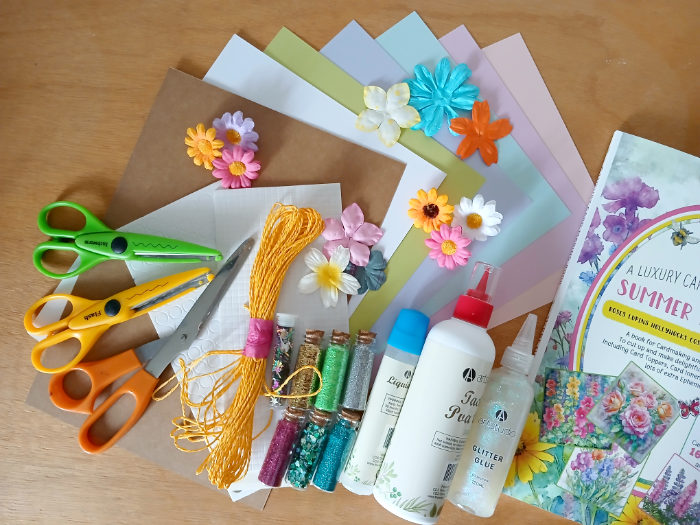
All we need is to supply is the card stock and some accessories.
One quick (long) visit to the craft shop and a rummage through my existing supplies and I’m ready!

Note: it’s clear to see that there will be many more card toppers and sentiments left over to make additional cards. You would just need more blank cards and envelopes to work with, but they are easy to come by in craft shops. Or you could use the additional elements in an arty junk journal or scrapbook. That would look good as well.
Cutting out the pieces
I spent quite a while looking through the book. It took me ages to decide which pages to use first to make my card. Every page is so appealing that I wanted to make them all, simultaneously!
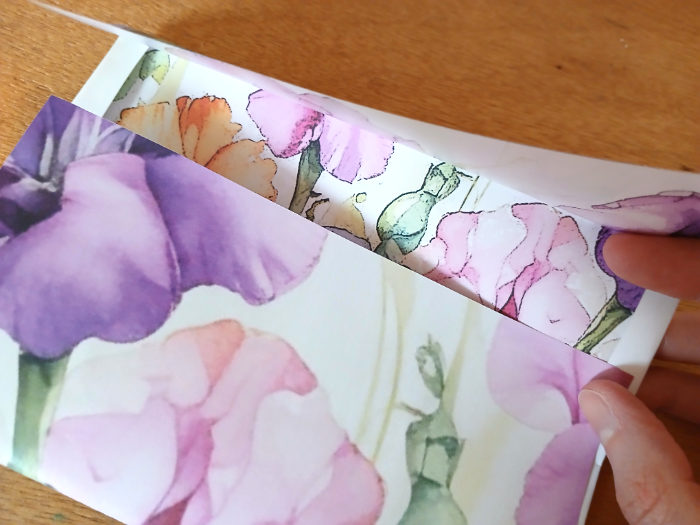
Eventually, I found myself drawn to a particular image and started cutting it out, which was a soothing, mindful activity in itself:
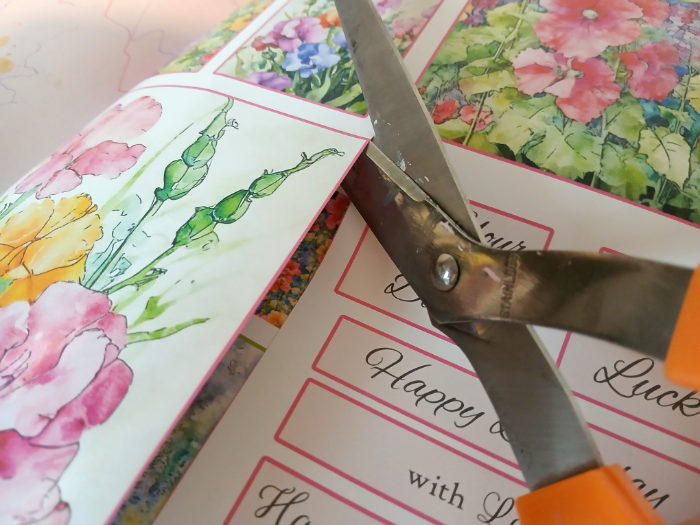
Forgive the paint-covered scissors, this is my oldest pair. We have been through a lot of arts and crafts together.
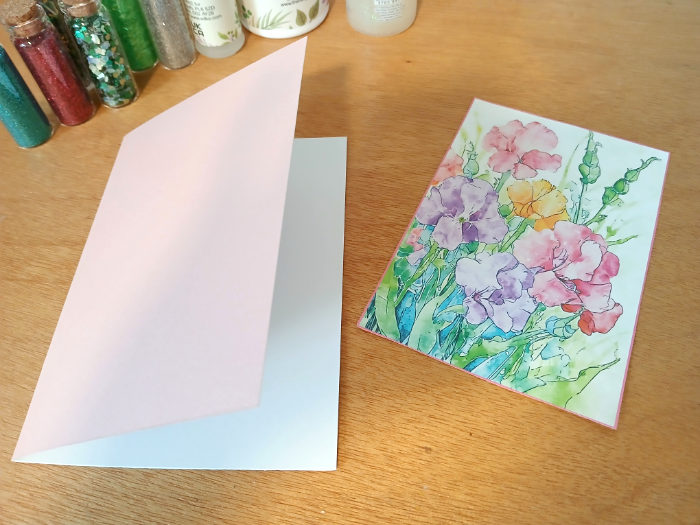
You can see the flowery image I chose a bit better in this photo – I’m going to use this on the front of the card:
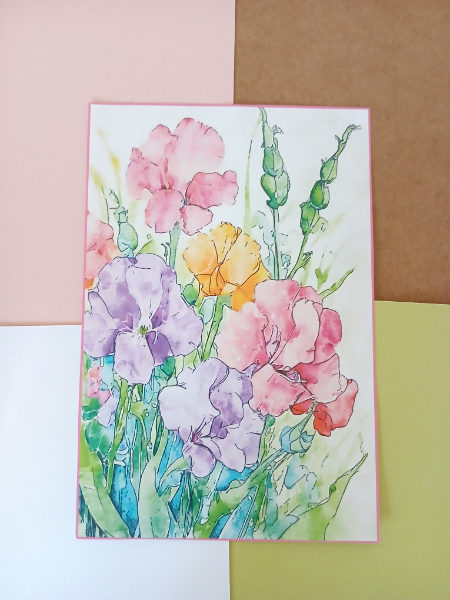
I’m trying a few different card stocks here – pink, kraft, white or green. I actually think all of them work, but chose the pink card stock as this had the edge for me.
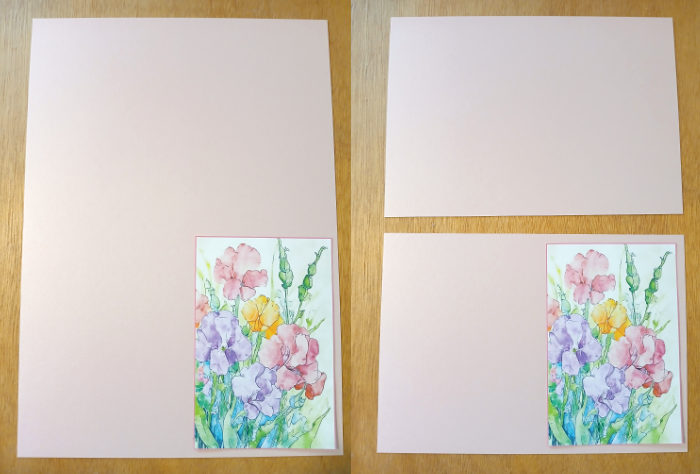
The envelopes in the card making book are for A6 size cards. I have A4 card stock. That means I will need to cut my card stock in half (to A5) and then fold it (to A6):
Ta-da!
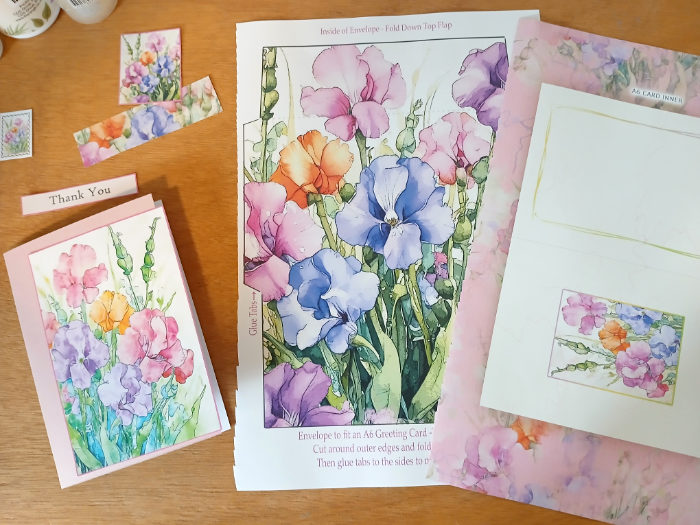
Next, I cut out a few more elements – the card toppers and “Thank You” sentiment. I also chose the card inner and the envelope. My tip would be to cut out a whole page at a time before cutting the actual pieces. That is, unless you’re super neat and skilled with a craft knife.
Building the card
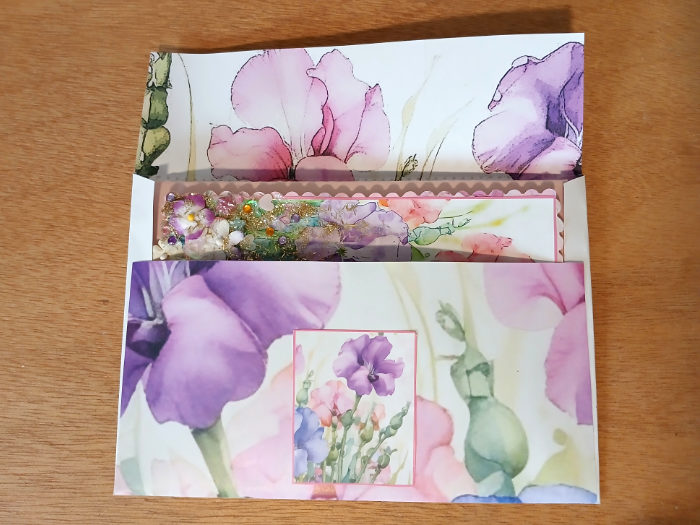
Next, I cut out and glue the card inner, so that this can be drying. I just use a regular glue stick for this so it didn’t take too long to dry. A card inner is that extra piece of paper that you see on the inside of posh greeting cards. Remember the book is called ‘Summer Flowers – A Luxury Card Making Book’ – so we’re making luxury cards here! As you can see, it is pretty on both sides of the card inner, which I find very exciting:

After gluing the card inner, I have a go at making the front picture even more fancy. I use my special ‘scallop’ bladed craft scissors to cut a fancy edge from some of the peripheral paper in the book. I glue it all together with some white card to strengthen the paper. This is because I want to use foam craft pads instead of gluing straight onto the pink card stock. I prepare the “Thank You” sentiment card topper in a similar way, but without the scalloped edge:


Next, I cut out and glue together the envelope which is also pretty on both sides – it’s the attention to details like this which make the book and the cards so special:
Embellishments
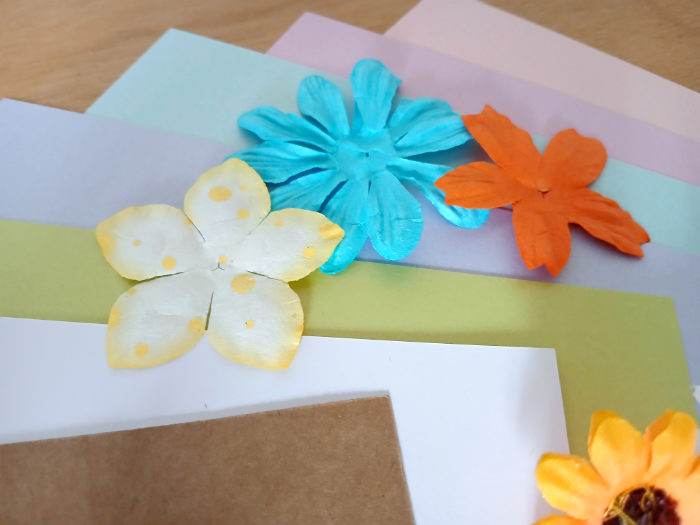
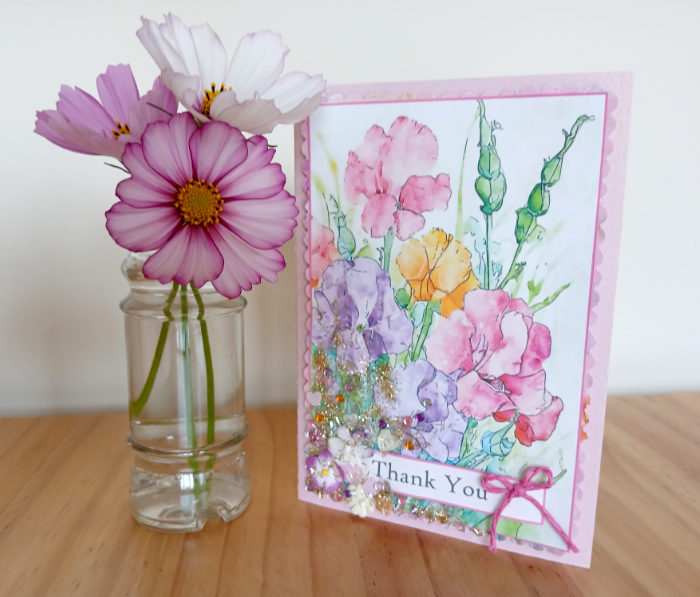
Now, time for some sparkly fun! I went a bit wild here, adding gemstones, sequins, glitter, small paper flowers and string bows.
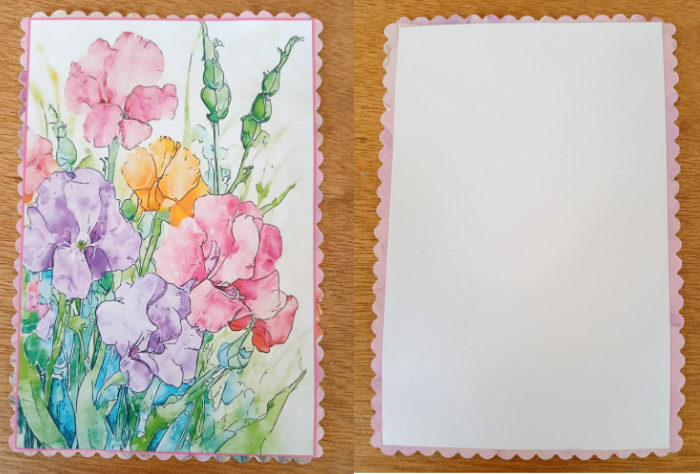
This is the front and back view of the finished card and envelope:

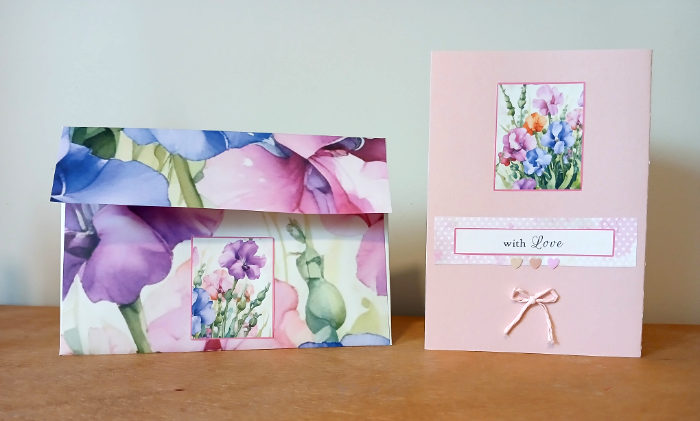
And I like how the envelopes have been designed to accommodate people like me who want to add lots of embellishments – it’s plenty wide enough for a liberally stacked card!
Imagine how exciting it would be to receive a home-made card that looked like this:
Buy this book!
I know this blog has been a little different to my usual art-related blogs, however I’m discovering that it’s useful to experiment in a multitude of creative outlets. You never know what you might learn or be inspired by along the way. And there is definitely a cross-over with hand-made greeting card crafts, junk journalling and mixed media art. So I still felt like I was developing my artistic skills throughout this process. And for the most part, I felt like I was fully present while I was crafting – so it was a nice, soothing, mindfulness art session.
Summer may be coming to an end, but we can still enjoy summer flowers through art. I would highly recommend this card making book by Kay Burton (or any of the others in the series) to creative souls looking for a wholesome, mindful and uplifting activity. You’ll have a lot of fun, and end up with at least 16 beautiful, luxurious greeting cards to give to your friends and family.
Wishing you all well in your creative endeavours!